
Robots are everywhere!
From being a part of fictional work like Noisy Boy from Real Steel,
‘You pass butter’ from Rick and Morty
And my all time favorite ‘Wall-E’
As well as in various real life instances like Softbank’s Nao, a bipedal robot extensively used in education and research
Spot, MIT’s Cheetah and other scintillating quadrupeds
Oh wow! that could be a post on its own. But coming back to this one here,
Have these made you want to build your own robots? Could be a swarm of Killjoy’s nanobots or something insane like the Ultron! That’s upto you, but the first hurdle usually is ‘How do I start building robots?’ (see what I did there :p) If you’re stuck with this, then you’re exactly the person I’m writing this post for!
Now before we get readied with how to build a simple robot, let’s first know what a robot is. To be very honest, from the resources I’ve been exposed to, I’ve not come across a satisfactory definition of a robot. But yes, eventually I’ve settled with a conglomeration of various definitions. A very conjectural take on a robot would be to call it a machine that performs a particular kind of task. To describe the task a little better, it can be broken down into three sub-parts.
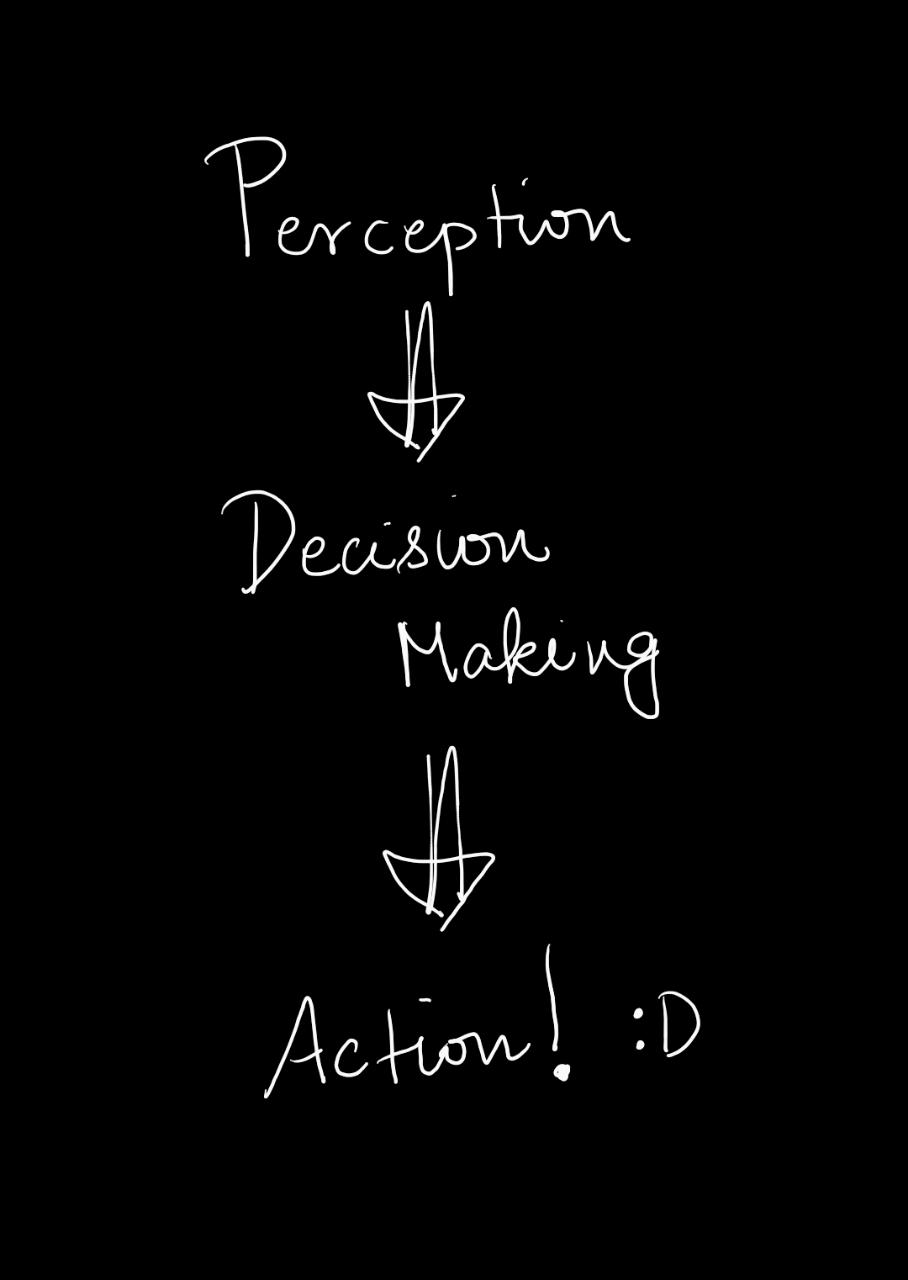
Let’s go over an example to understand how this division works. Imagine you’re asked to pick up a certain object in front of you. A quick breakdown of how you would perform the above task would be
- You will look at the surroundings and locate the object of interest. (perception)
- You would decide on how you’re going to move your body, hands in specific to reach the object without colliding with other obstacles in the scene (decision making)
- Now you’d perform the action by moving your hands, grasping the object and taking it to the goal position(action!)
Getting a little more in-detail about the sub-topics mentioned,
Perception
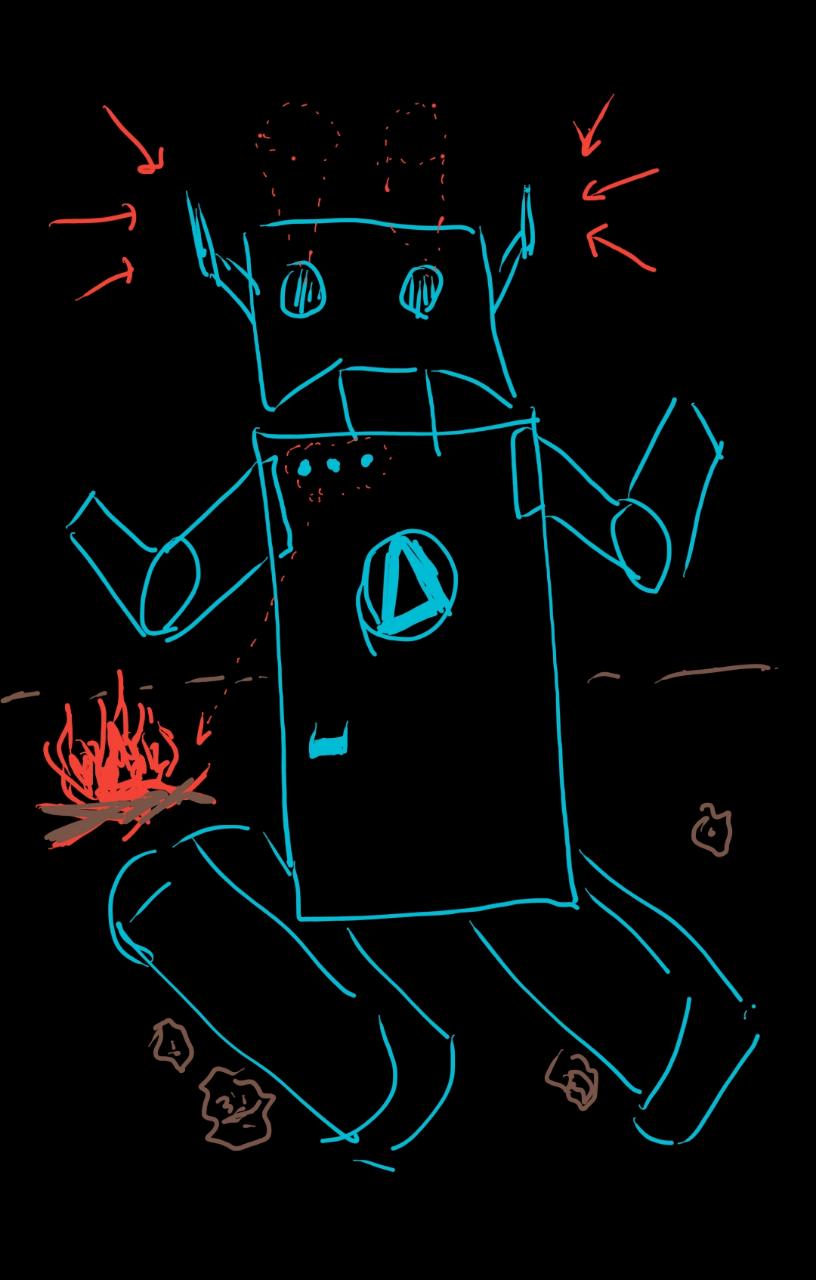
This module corresponds to the part where the robot tries to understand its surrounding. Similar to how we use our sensory organs to understand our state and the environment around us, robots use an array of sensors for the same. To begin with, a quick list of entry-level sensors you could use for your robot can be found here. So when you’re planning on building your own robot, the first thing is to decide what kind of inputs you want your robot to work with. For instance, if your robot shuold listen to sounds, a microphone is to be added, if the robot needs vision, you’re gonna have to look into different cameras (details like type of camera, data stream and resolution which will be covered exclusively in another post). It is trivial to know that all your sensor does, is flush you with data. Diving deeper into the “electronics” pillar of your robot, once you have your sensors ready, the next step is to have a central unit to process and channel this stream of data. This ican be considered the ‘brain’ equivalent of your robot.
Most of your data transmission happens in terms of voltages. For sensors which are basic and only stream simple ‘numerical’* data, the standard go-to board would be an Arduino Uno. A smaller version with lesser pins would be an Arduino Nano and a bigger version to this is an Arduino Mega. Once you start stepping into a little complicated data like an image stream, you could use a Raspberry Pi. You can think of this as a very compact PC. By that I mean, you can plug it with a display and a keyboard and BOOM! there you go! (NOTE You don’t need a dedicated input and output device setup to work with your Raspberry pi. Read about SSH). So the idea is to attach a PC equivalent on your robot to process all your data, and fancy terms like Edge AI that companies like NVIDIA is working on, has given us, roboticists a lot of powerful chipsets like the Jetson Family. The next upgrade from the RPi would be a jetson nano. For a bigger jump, you can consider opting for the TX2 or the Xavier. With this basic understanding of perception, we’ll move on to making sense of the data that we receive.
Decision Making
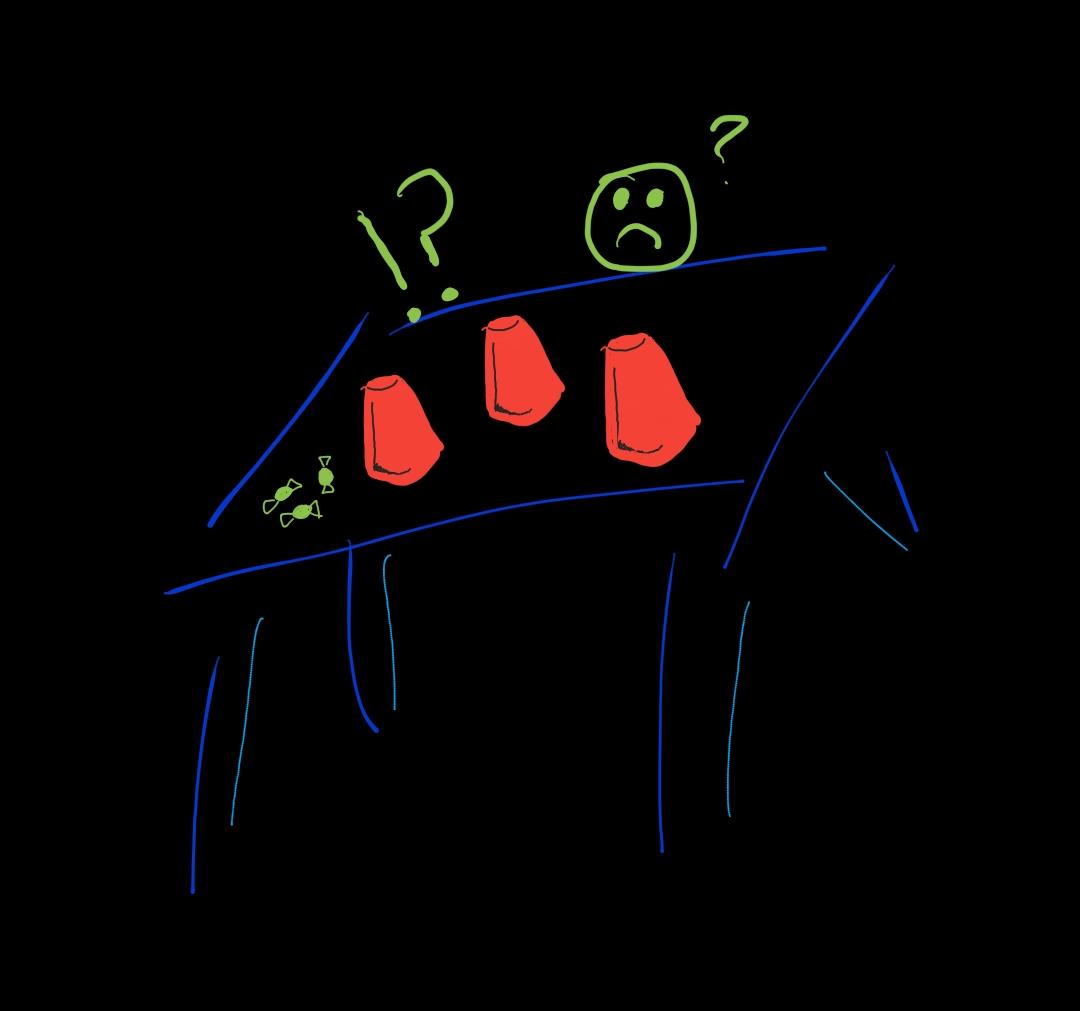
The chips we use here, take inputs from devices through various modes. The most common is the use of GPIO(General Purpose Input Output) pins, you might be familiar with these from the arduino. The RPi or the jetson family has their own share of GPIOs and the first task you should look at, is to access these pins with programs you write. Arduino CC helps with that and for the RPi or other higher chips, you can use simple python/C++ programs for the same. So these programs collect data/inputs from your pins and can be used to send outputs to other electronics connected as well. There are similar ways to collect data from other ports as well(For example, RPi has a few USB ports and a dedicated RPi camera port). Once you have programs to collect data from various sensors, the next step is to come up with ways to integrate this. This is where, the absolute beauty, ROS steps in.
For absolute beginners, you can think of ROS as an additional package that helps in transfering data between various programs. An example must help make things clear. This of a small robot that moves on wheels, and has an ultrasonic range finder to estimate the distance of the robot from an obstacle. It is not a good idea to just rely on the sensor’s data because it is erroneous and very unstable. So, it is general practice to use data from various sensors together. A rotary encoder can be attached to a motor to get information on the number of rotations the wheels have undergone. Now different modules like these give different data, and ROS plays a communication framework that helps you put data from various modules together.One additional dish ROS brings to the table is the availability of an abundant number of packages for various robotic applications and robotic hardware. Moving on, the next goal is to make sense of the data. To begin using the chipsets, I would strongly recommend learning python & Linux commands. This also opens the gate to using other prominent packages and libraries like openCV which helps you program the robot to process the data and make sense out of it.
Action!

This is the fun part of robotics in my opinion. This is the part where you see your work come to life! :D
So let’s break this down further. At the end of this, you need to have your robot body ready. So you begin with the initial design concept. The key rule to remember when you build is “Robustness, Novelty and Modularity”. This is the place where you bring in the innovation factor. You design has to solve a problem in the best possible way, but must also be feasible to manufacture. Atleast for your first robot, you do not have to be too stingent about strength checks. Fusion360 is a very easy CAD software that you can use to design your robot. This is very easy and intuitive to use, basically just a few dropdowns that you’ll have to remember. Once your design is done, you can either choose metal(for beginners, use aluminium for light stress applications and use Mild Steel for parts that require a lot of strength) or use relatively hard plastics for light weight applications(Some examples would be Acrylic or PP for casing purposes and Delrin or similar plastics for more strength). You can also easiily convert these files that you design to STL files(just another dropdown) and get your robot 3D printed.Now that we have the basic skeleton ready, muscles are the next. This is where you will need to do some torque calculation and look into velocity reqiurements to obtain the right actuators you need. Here is an amazing webpage that can give you a better idea about motors for Robotics. One quick concept I would like to push in here in Manipulator science. Most of the robots that you build will have to manipulate the environment in one way or the other and ‘manipulator’ is just a fancy name for an arm ;). Manipulator kinematics and dynamics helps is deciding the joint angles and torques you need to apply for your robotic arm for the hand to move in a particular way you need it to. This can be used in many multibody mechanisms and is a strong suggestion to be familiar with.
Although this post did not get into deep into any of the topics, this is the overall process and steps that you should follow to you build your first robot.
There could be slips in the post or I could have missed some topics entirely. Please feel free to contact me regardless.
I’m really looking forward to seeing your first robots! Good luck!